Touch Input for Mac
iPhone & iPad, Touchscreen Mac Display
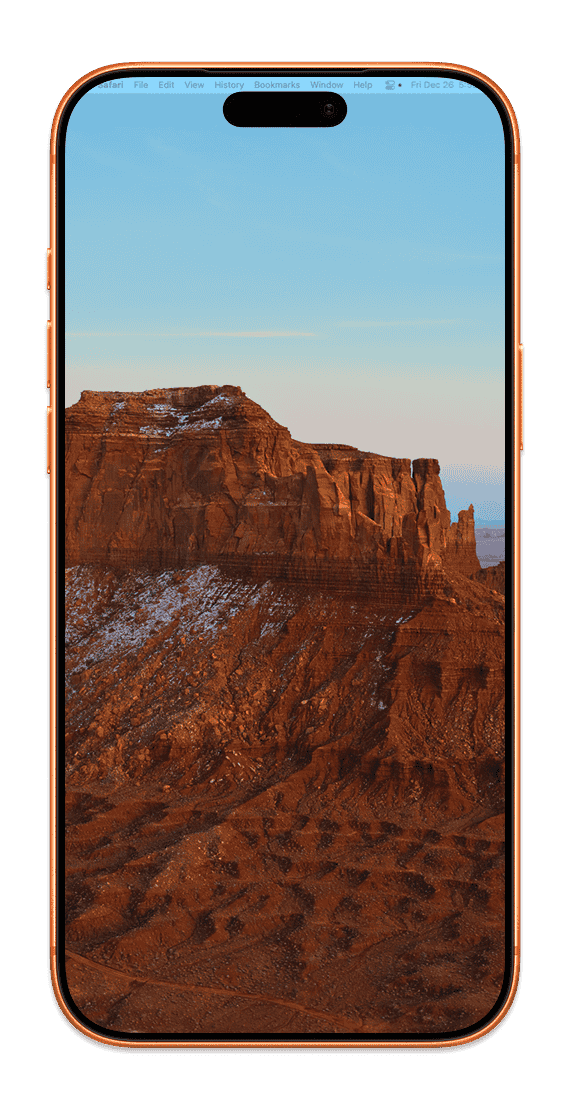
Transform any iPhone or iPad into an external monitor for your Mac — over USB or WiFi, with the touch input that macOS is missing.
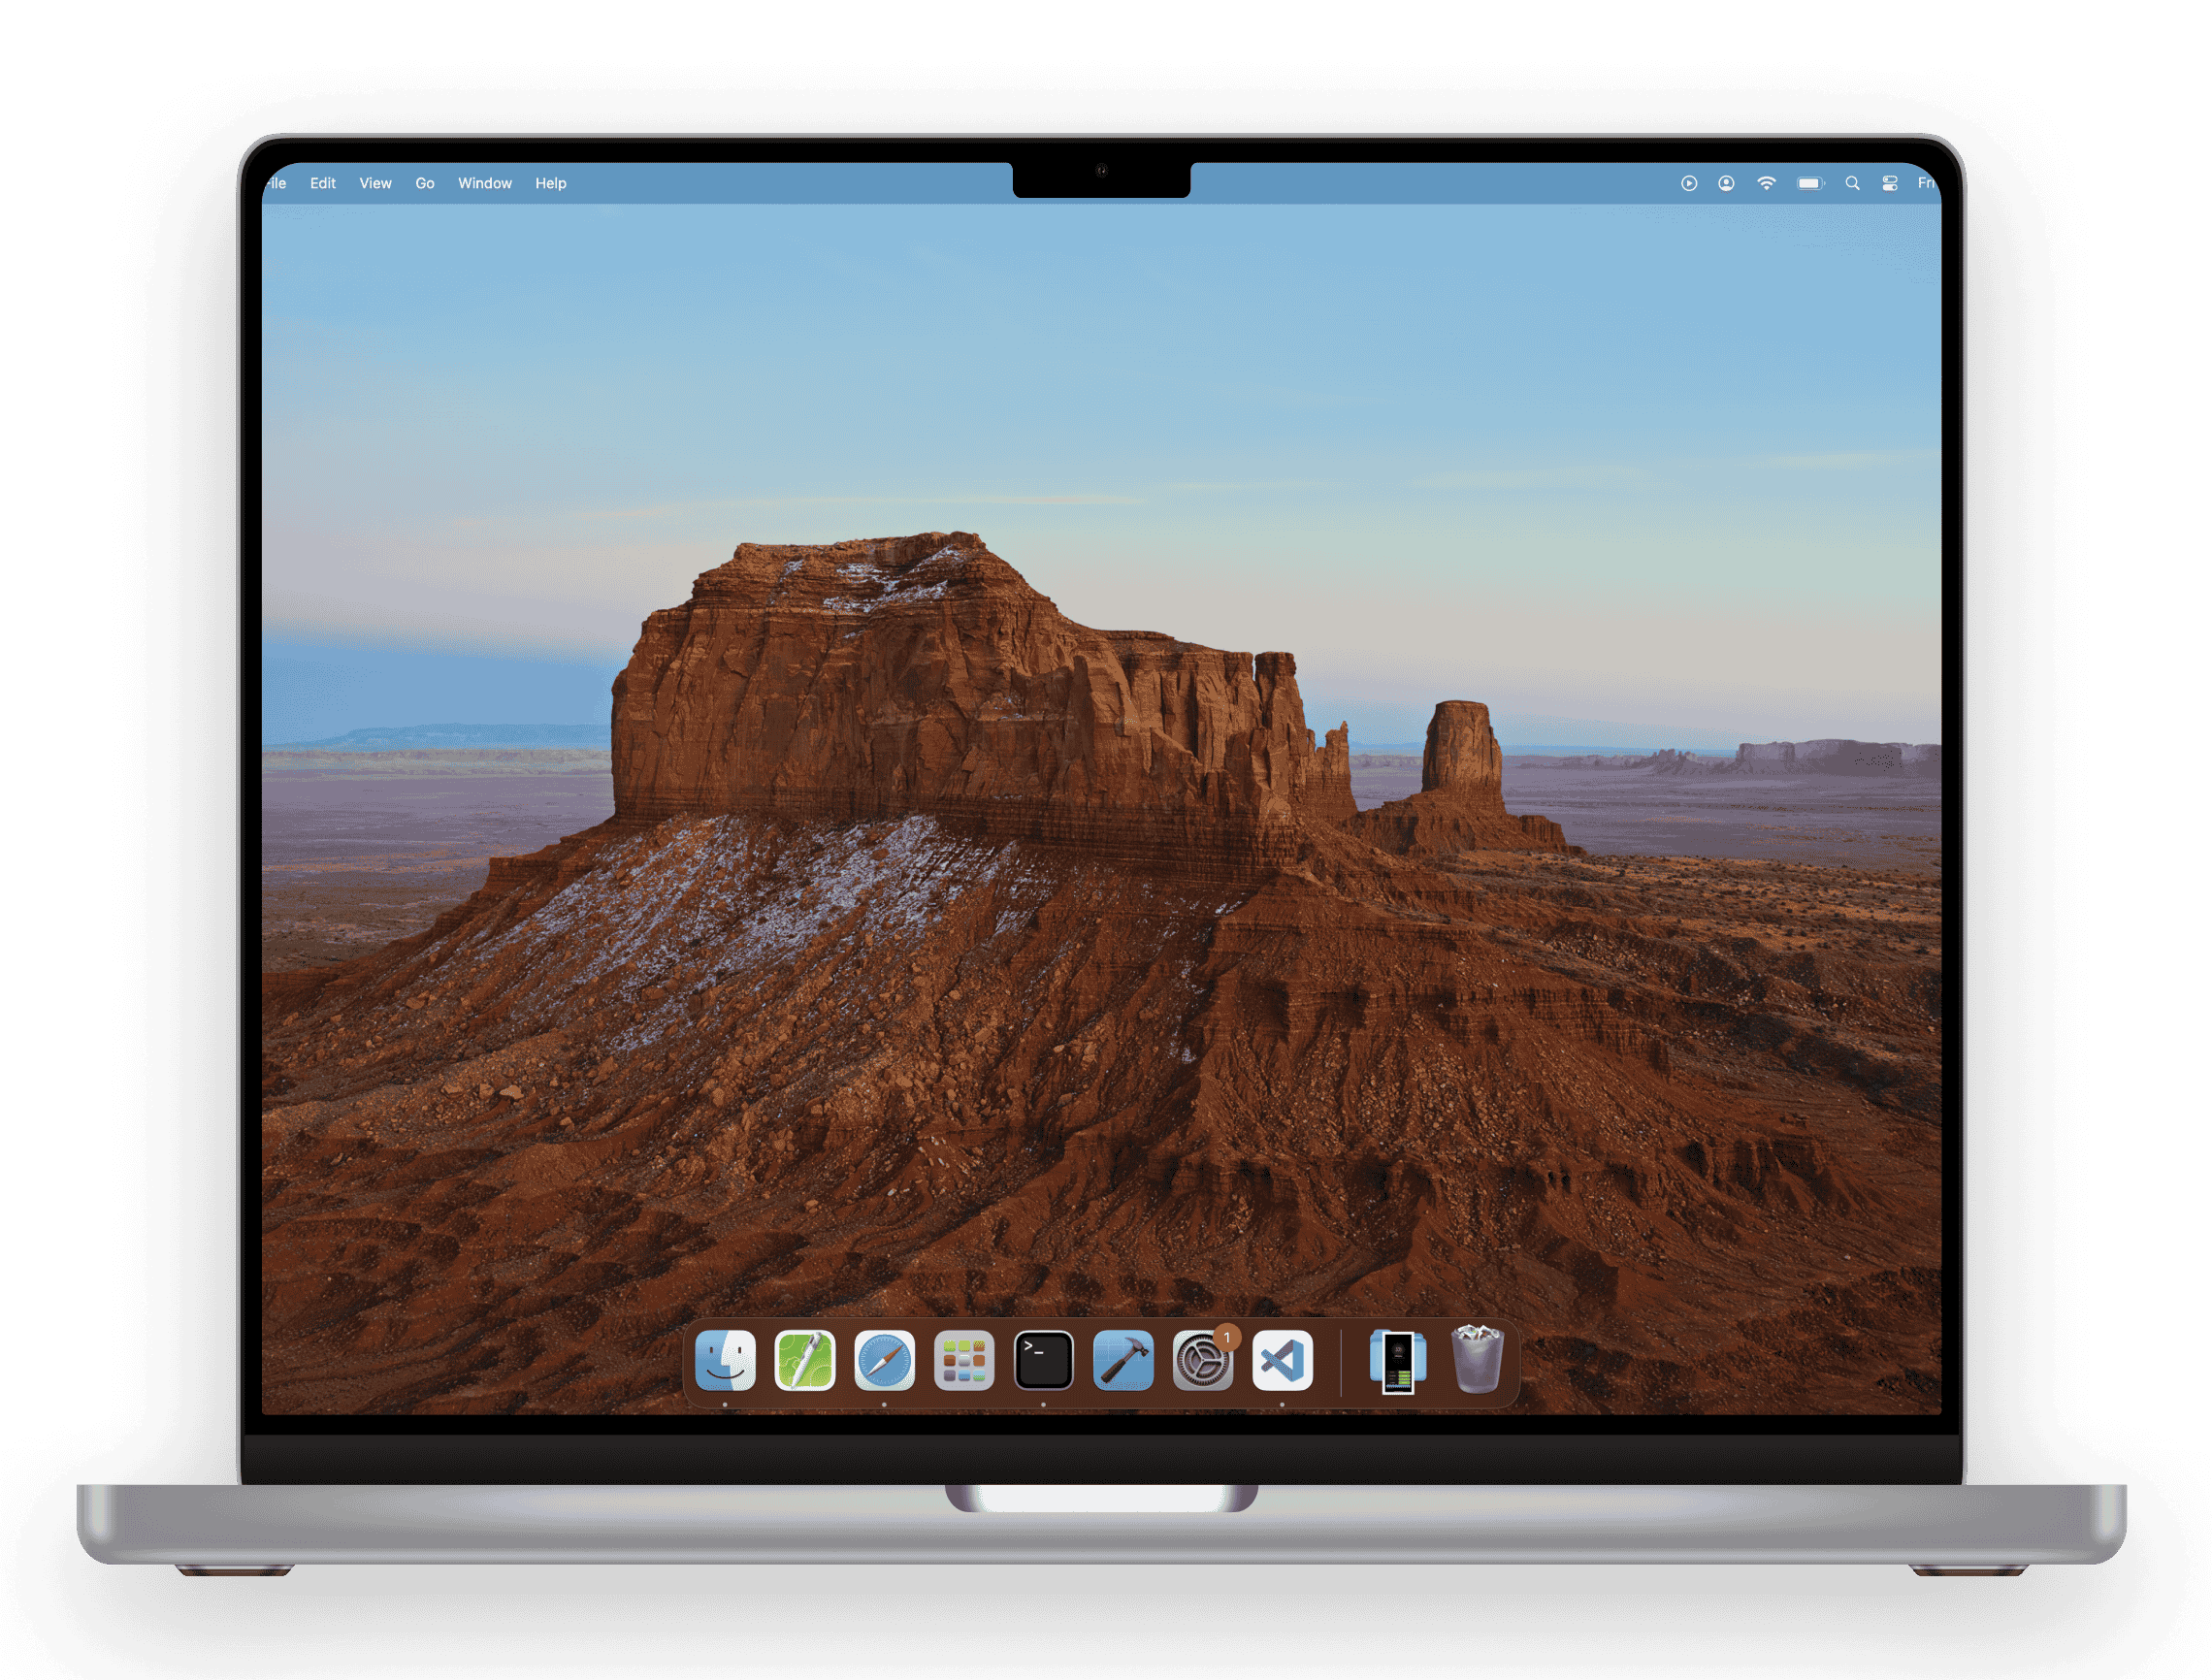
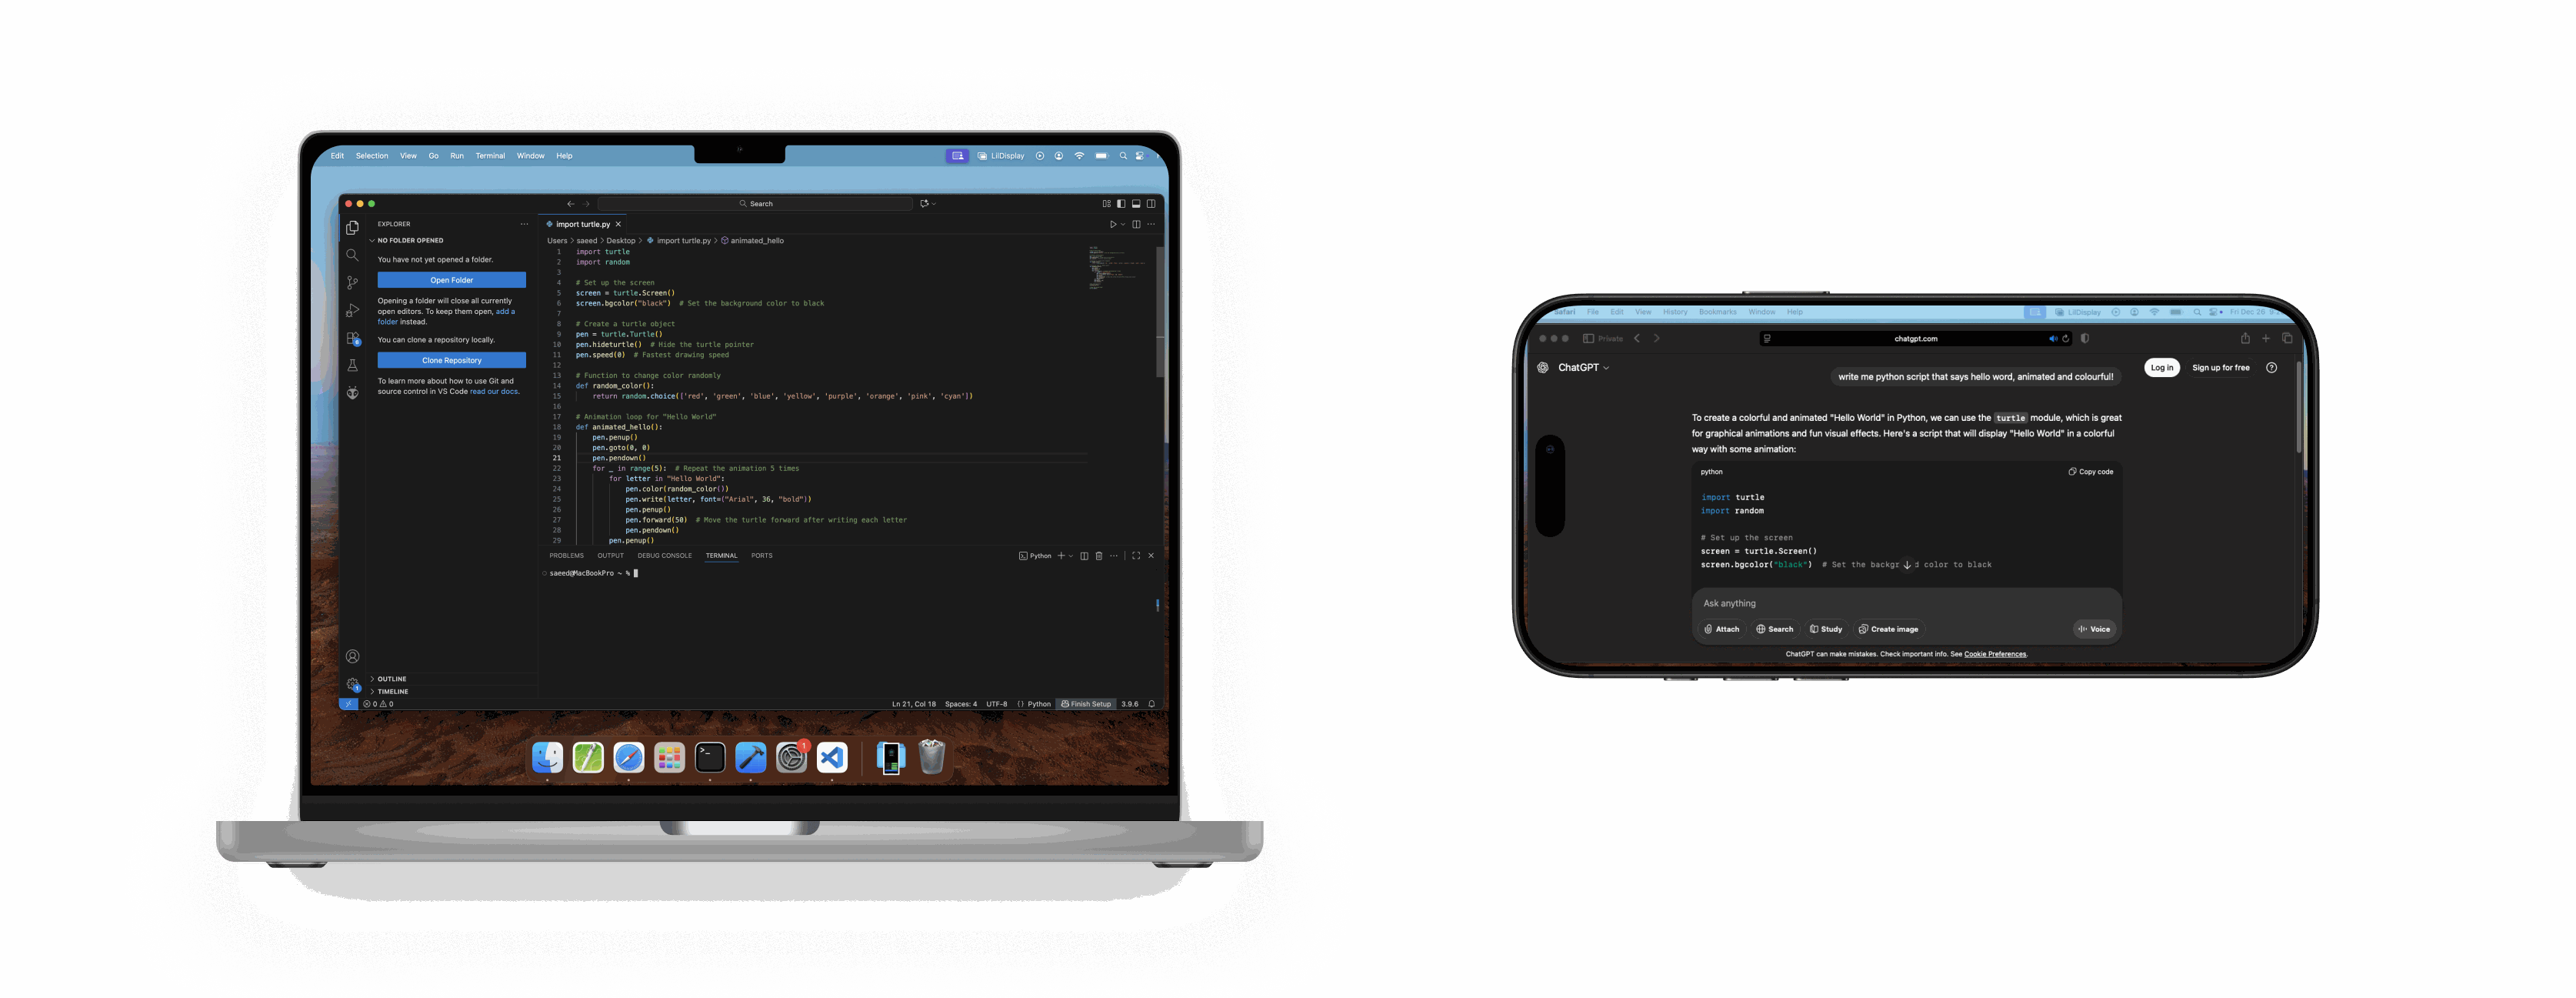
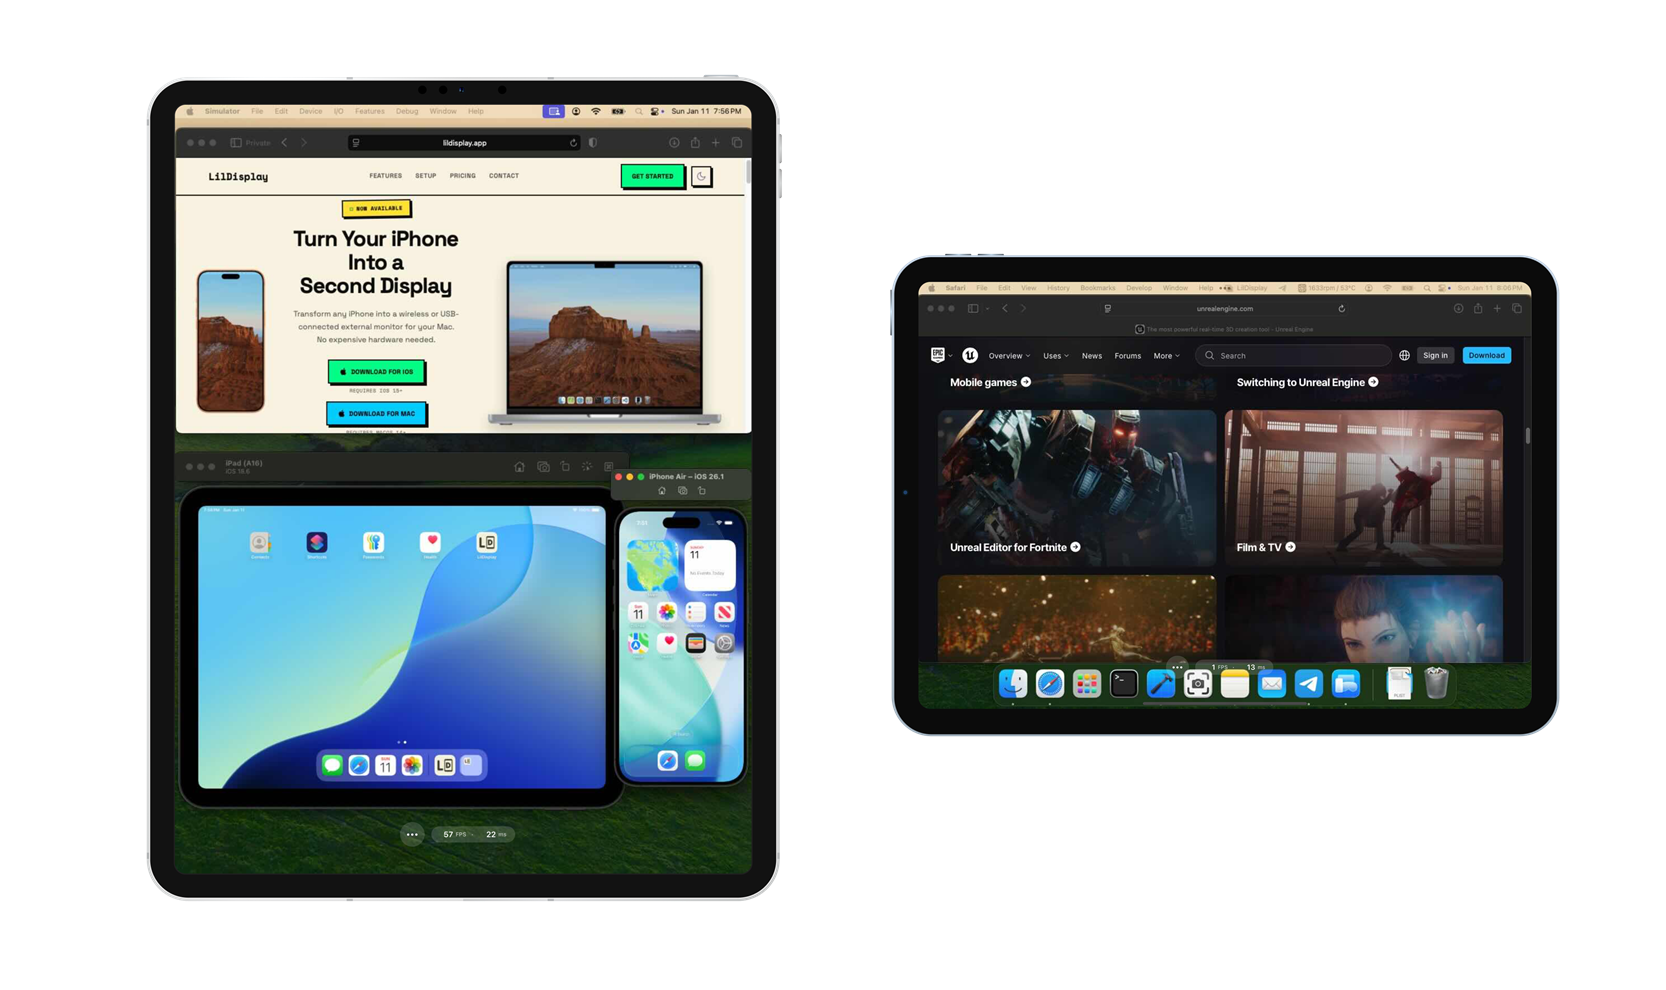
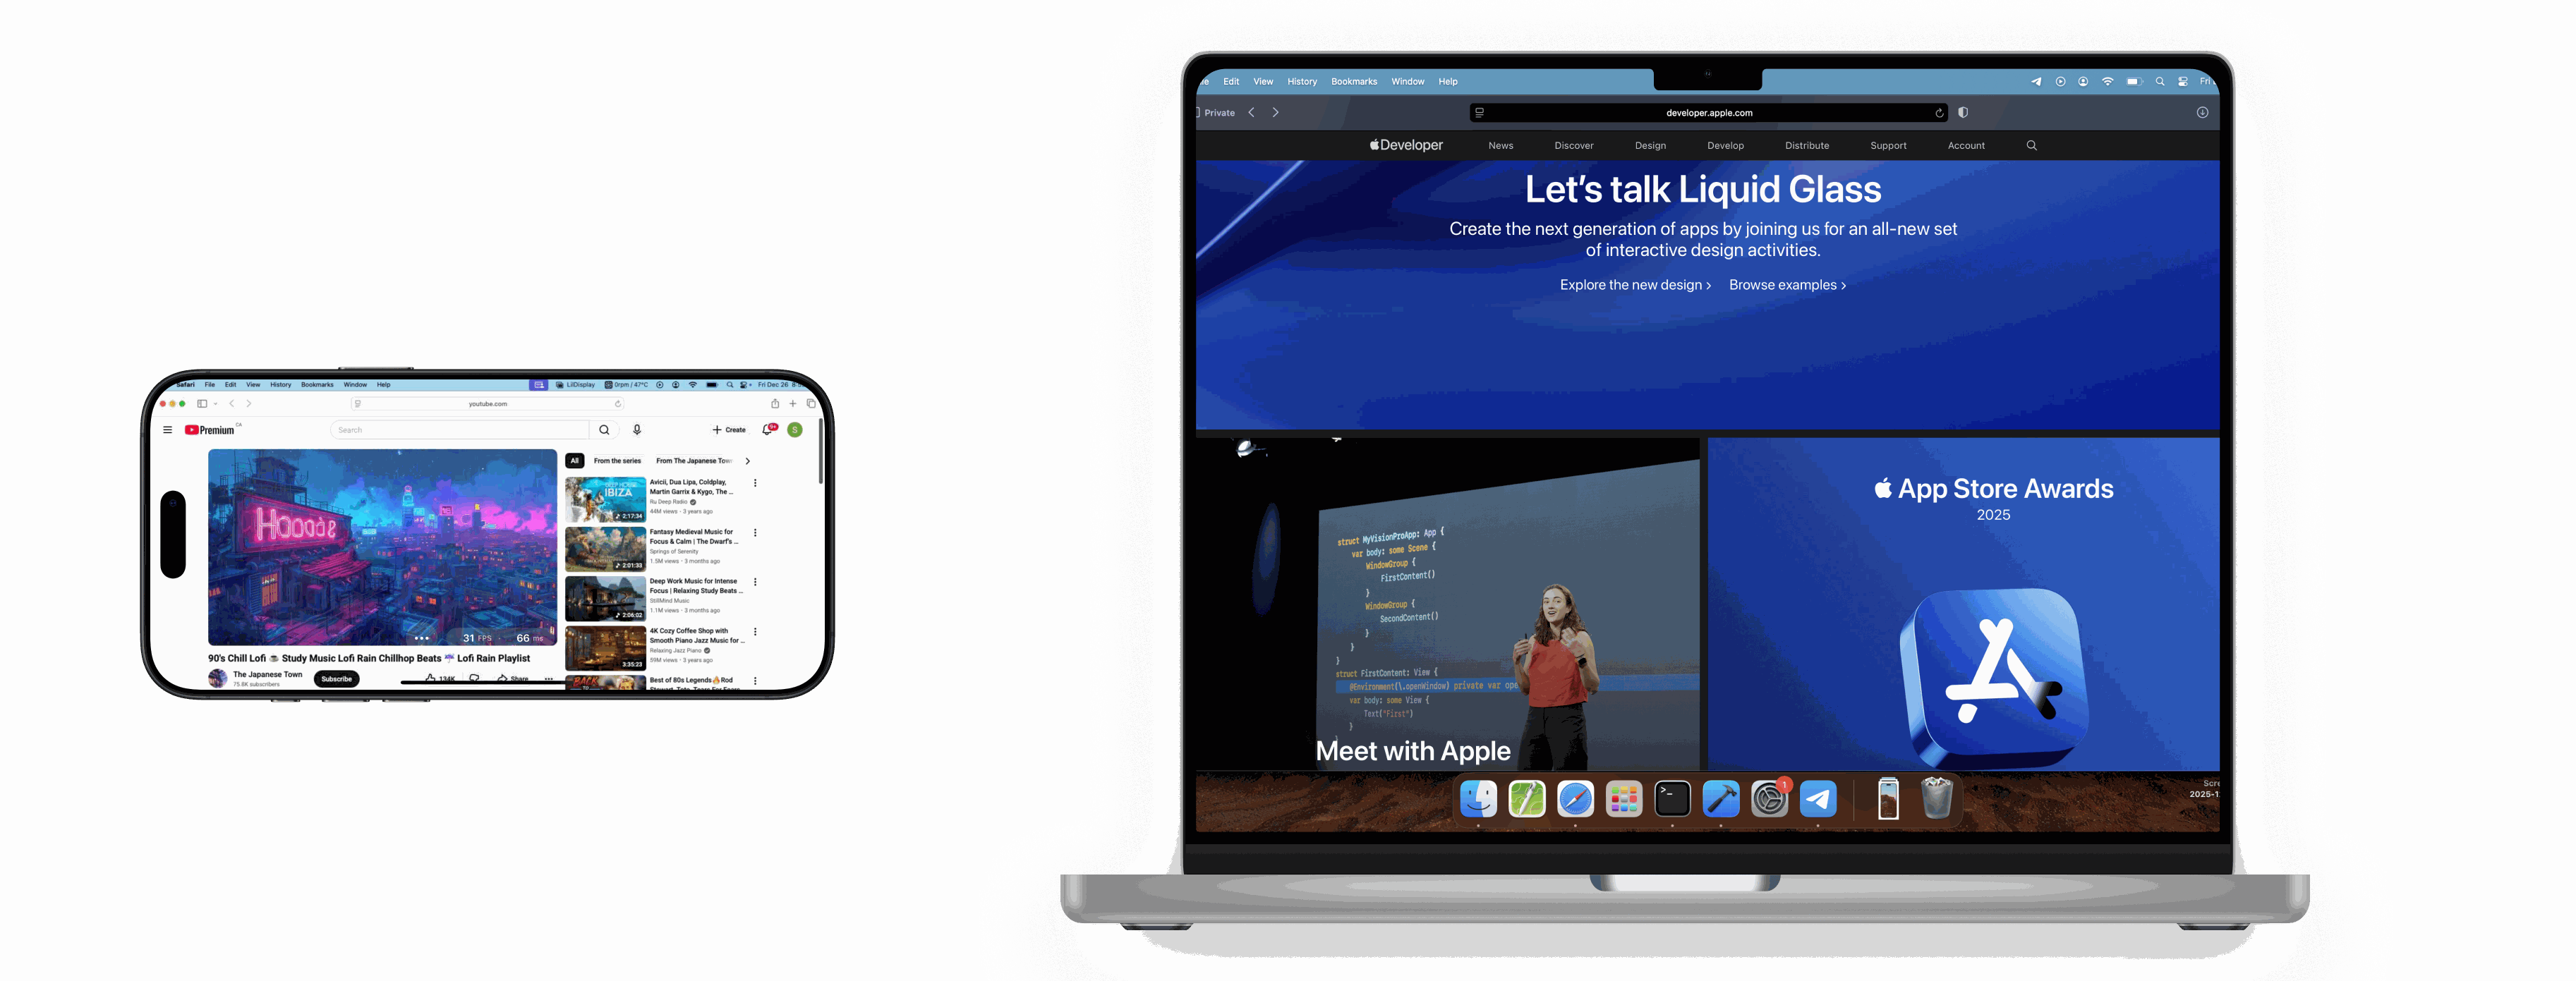
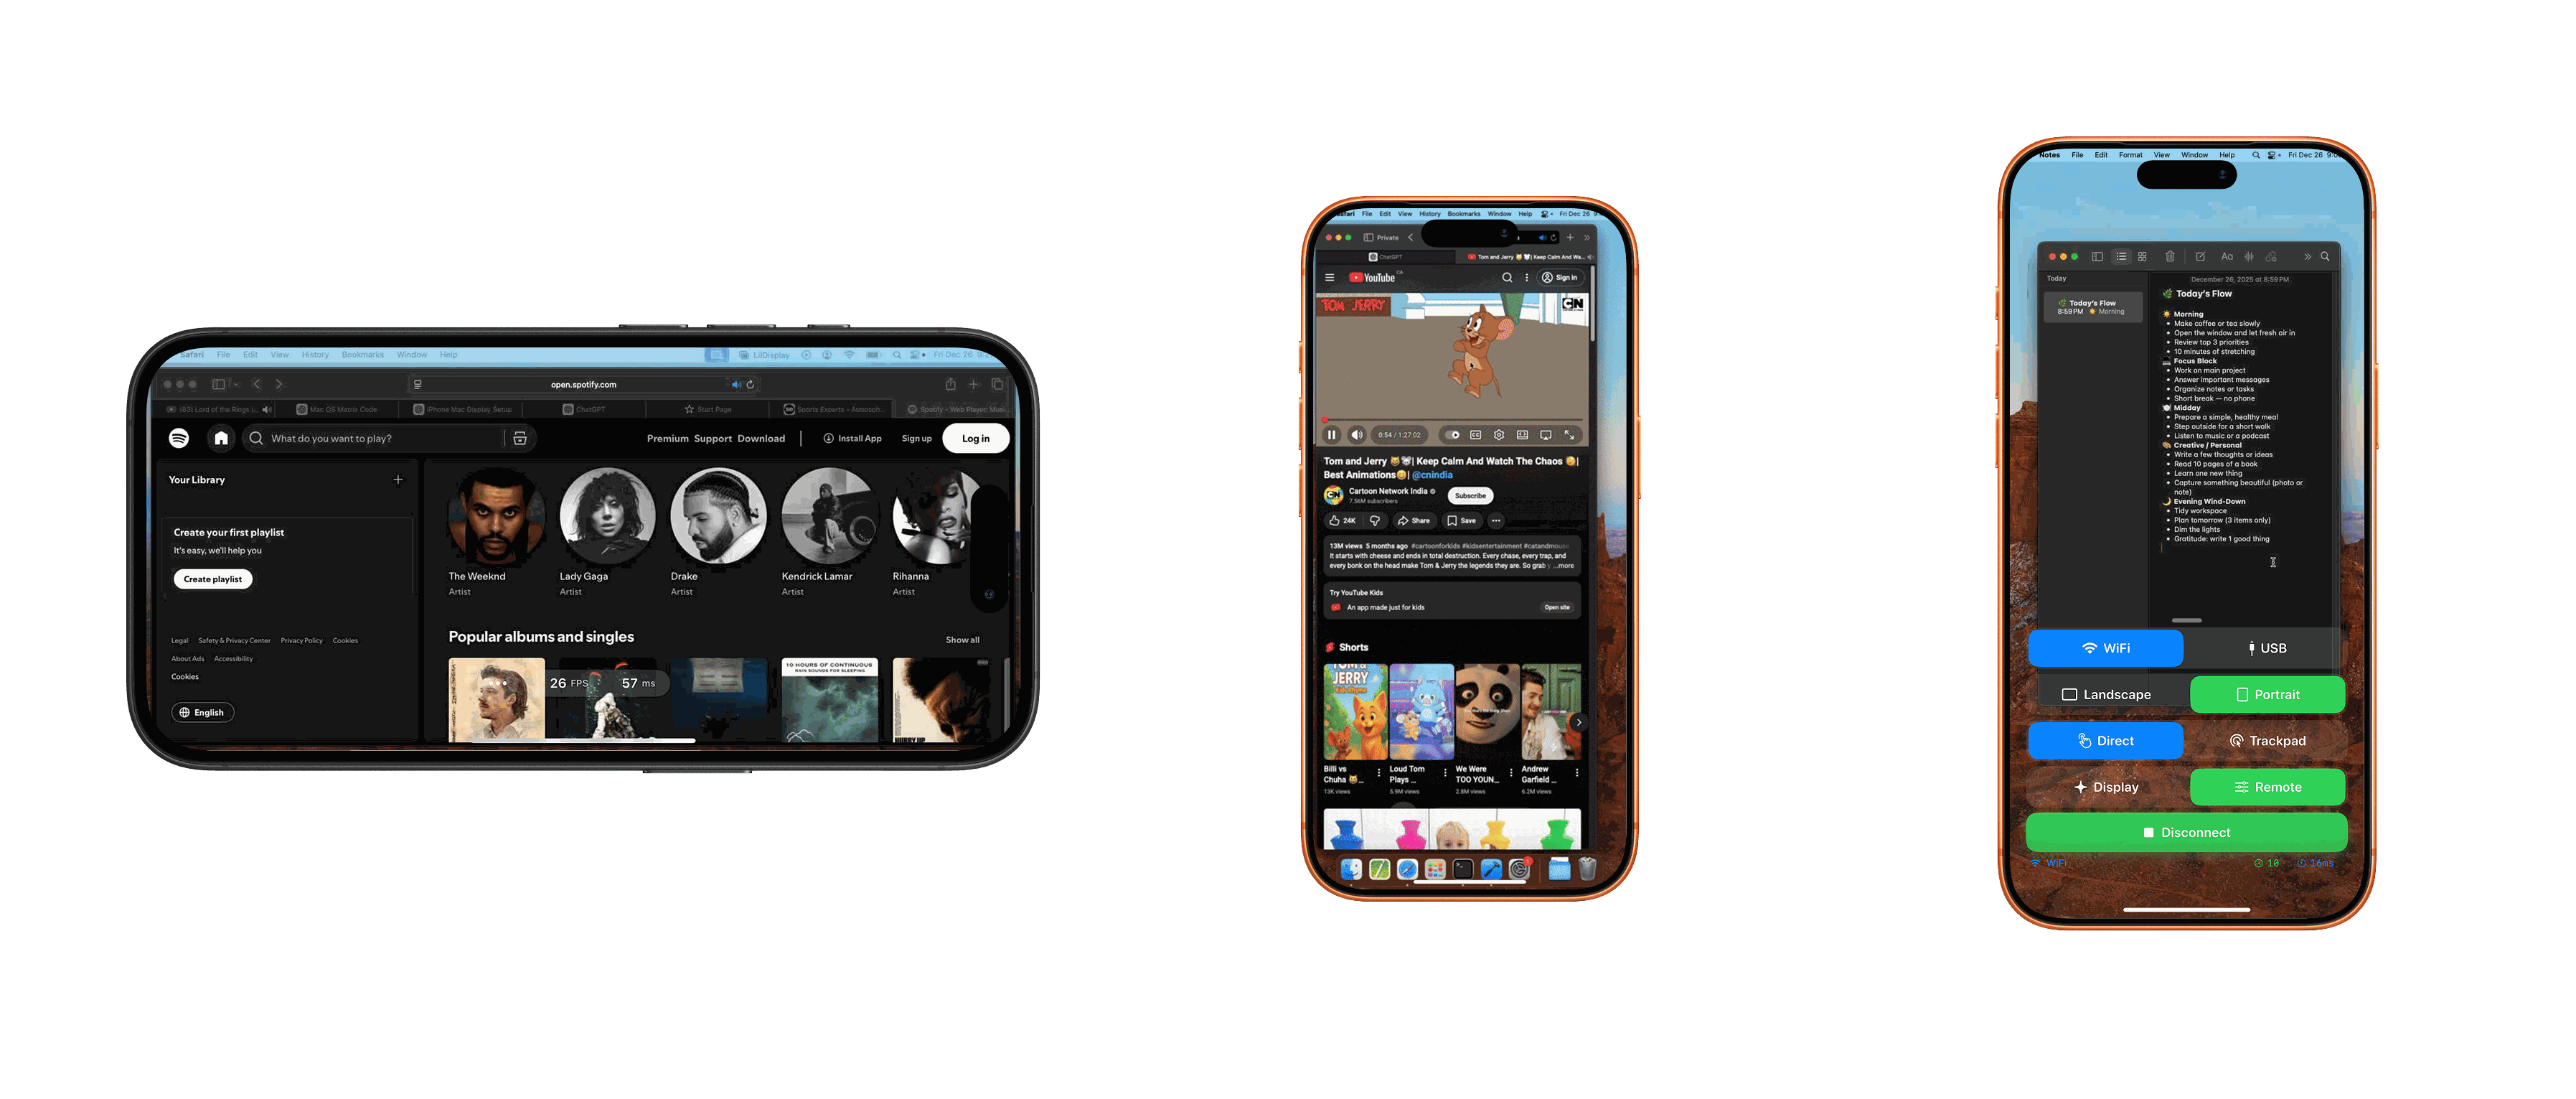
Transform any iPhone or iPad into an external monitor for your Mac — over USB or WiFi, with the touch input that macOS is missing.
Everything you need in a portable second display.
Under 10ms latency with USB connection. Feels instant and responsive.
Plug in via USB for the best performance with ultra-low latency.
Finally, touch input on macOS. Tap, scroll, and interact directly with your Mac.
Works as a real monitor — extend your desktop and move windows freely.
No cable? Connect over peer-to-peer WiFi using the pairing code shown in the Mac menu bar — no shared network required.
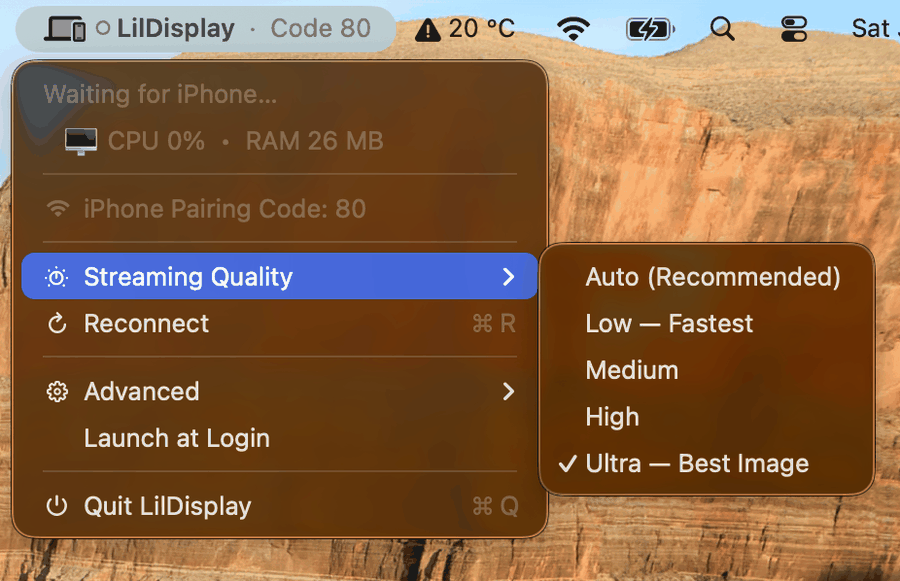
Pick your balance: Auto, Low (fastest), Medium, High, or Ultra (best image) — right from the menu bar.
Get started in just a few steps.
Get LilDisplay from the App Store on your iPhone or iPad, and download the free Mac companion app from this website.
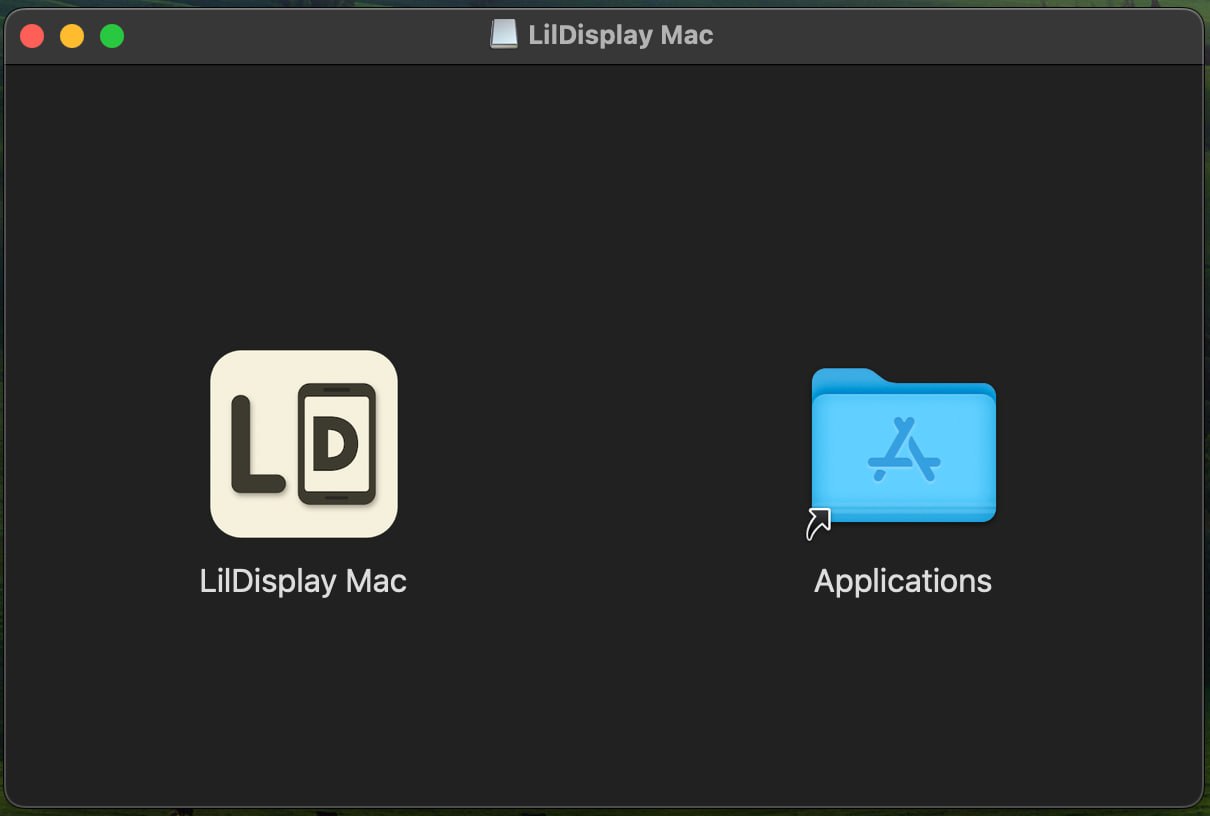
Open the downloaded DMG file and drag LilDisplay Mac to your Applications folder.
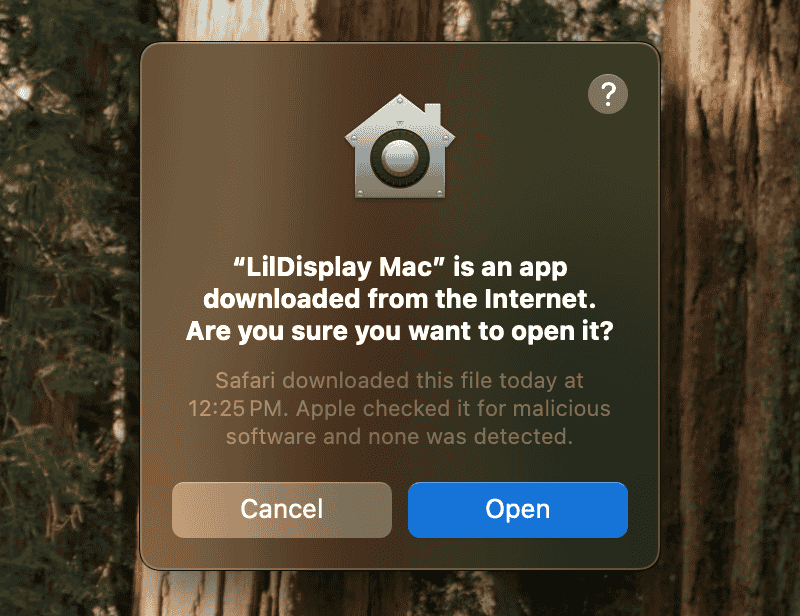
Double-click to launch. macOS will show a security prompt — click Open to continue.
The app will request a few permissions. Click Allow on each prompt:
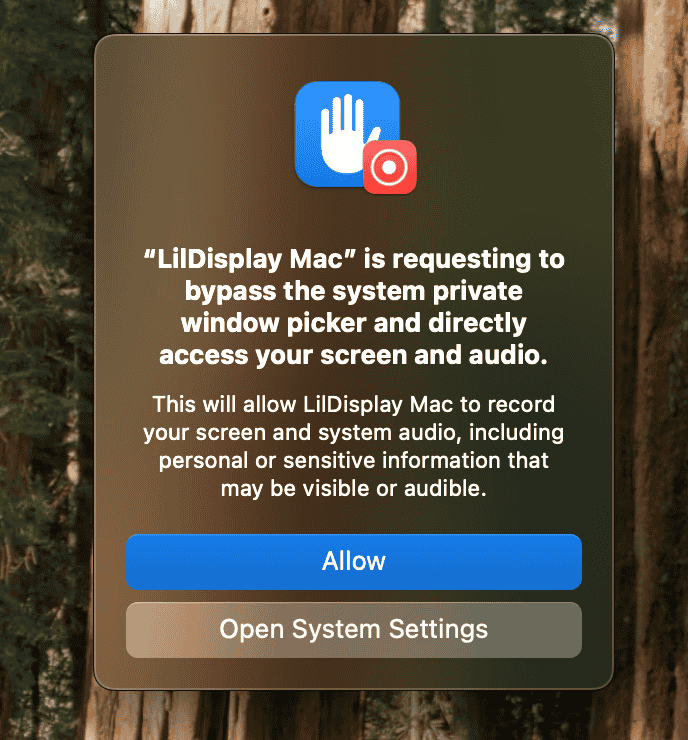
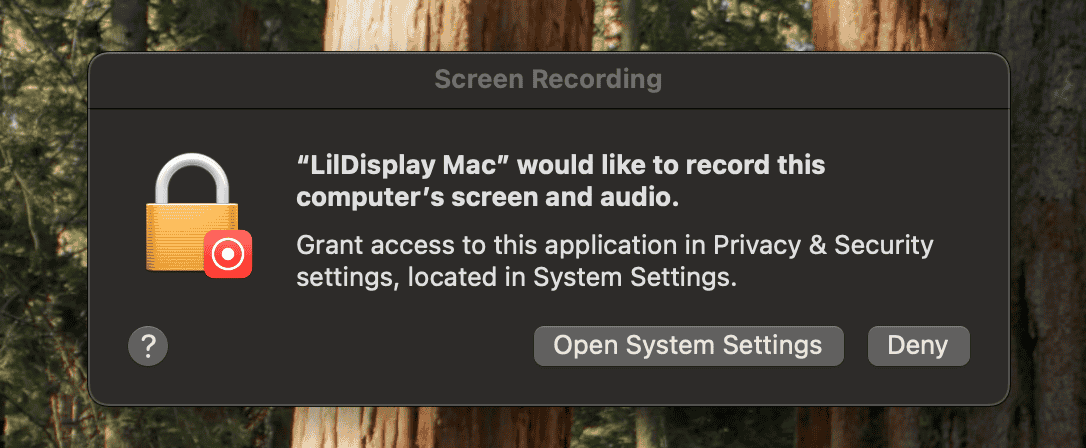
Tip: If a prompt doesn't appear, enable manually in System Settings → Privacy & Security:
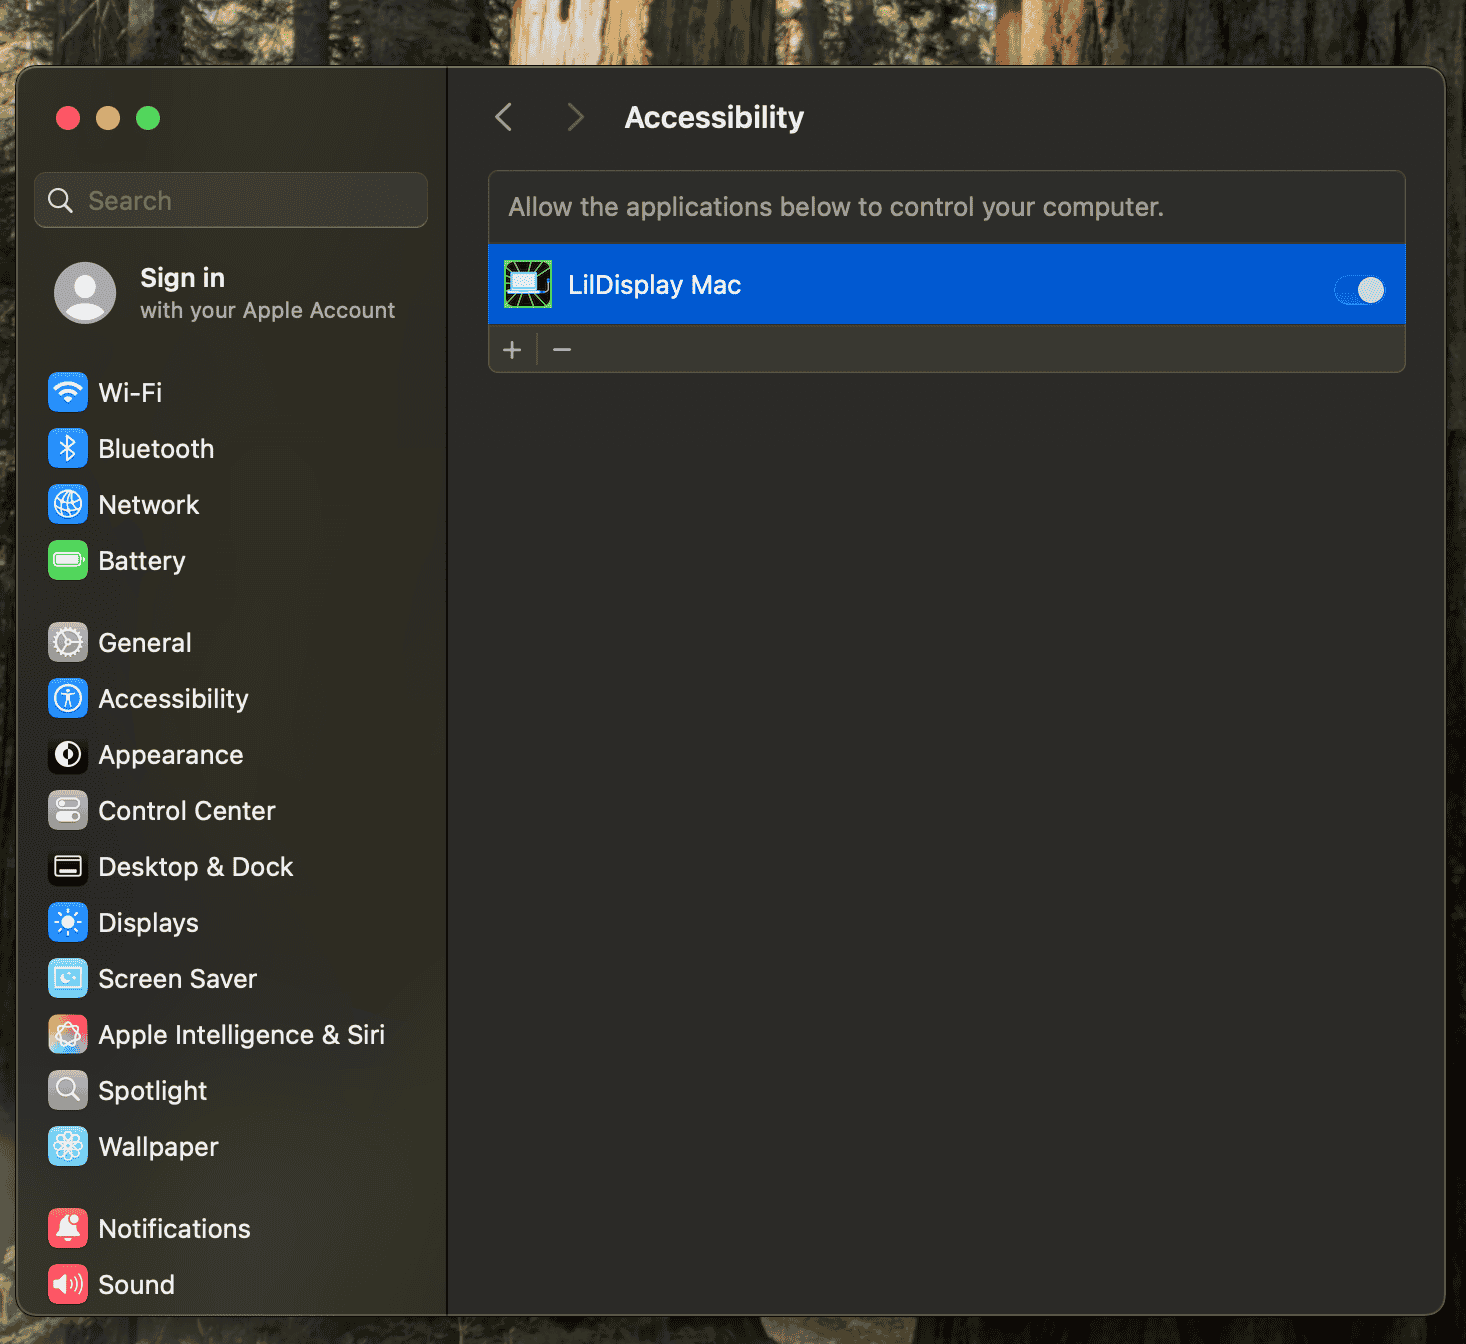
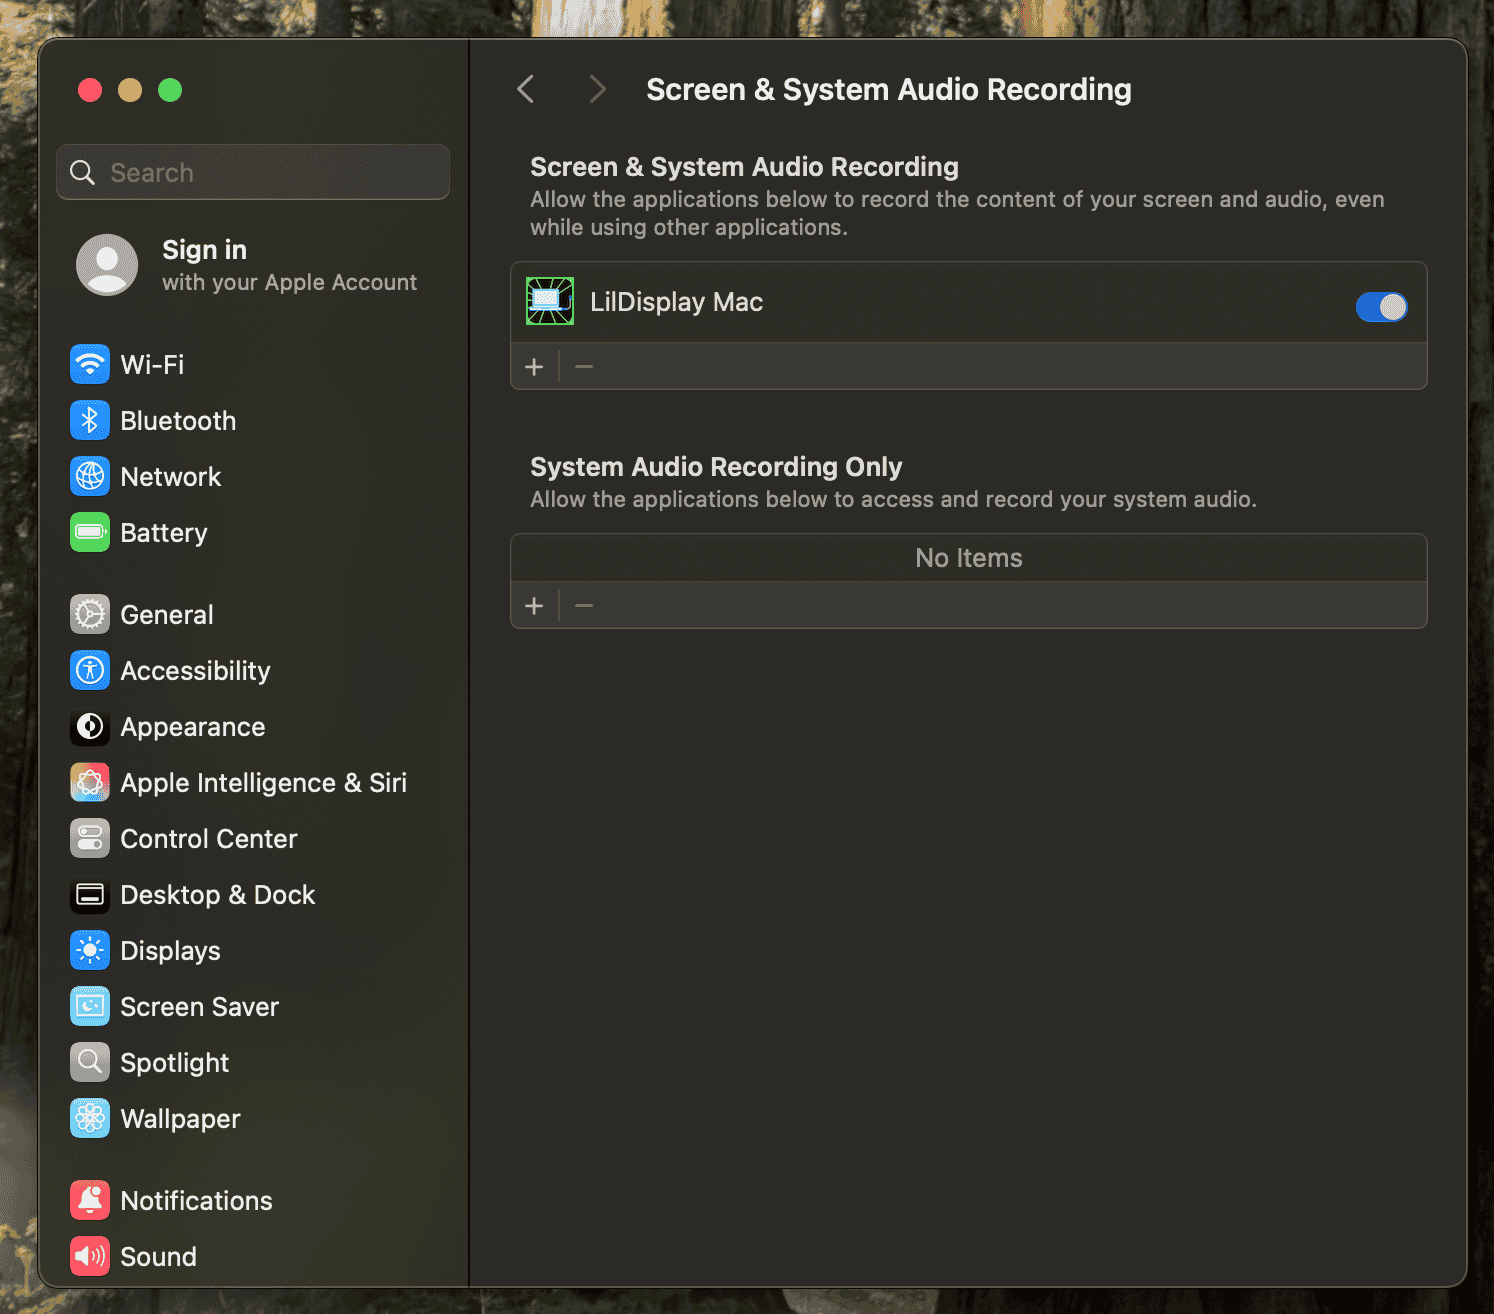
Still not working after allowing? If you just installed a new version and the app isn't capturing even though you granted Screen Recording and Accessibility, remove LilDisplay from that permission list (or toggle it off and back on) in System Settings → Privacy & Security, then reopen the app.
Open LilDisplay on your iPhone or iPad and connect via USB (lowest latency) or WiFi. For WiFi, enter the pairing code shown in the Mac menu bar — it's peer-to-peer, so the devices don't even need to be on the same network. Your new display is ready!
Once launched, the Mac app lives in your menu bar at the top of the screen, showing the live pairing code and the app's CPU and memory usage:
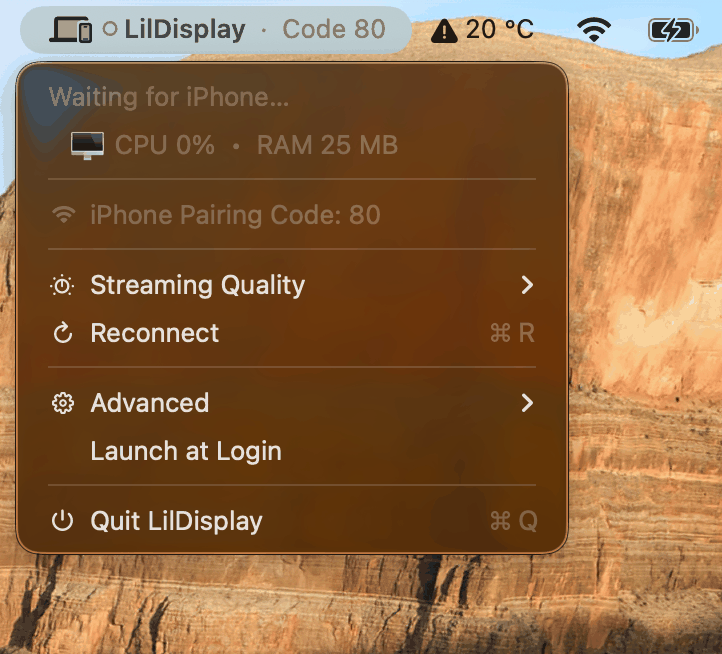
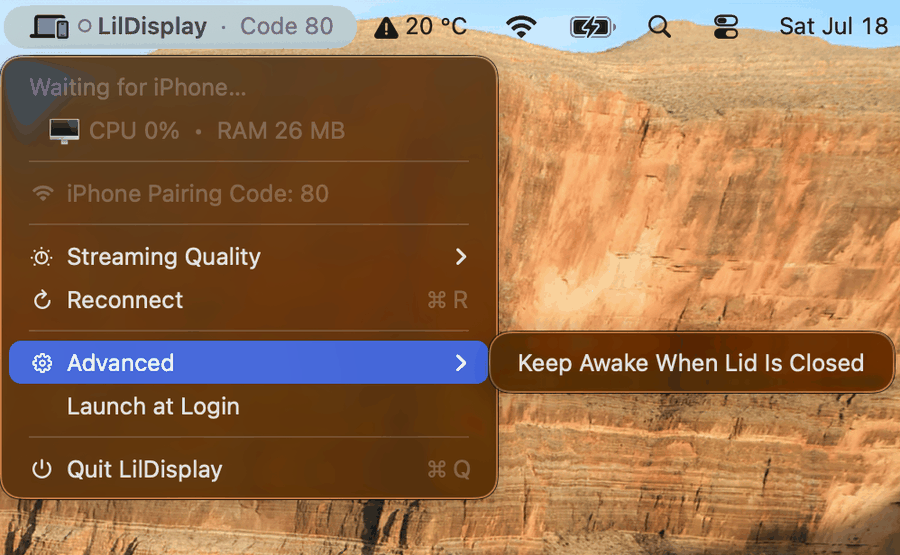
Troubleshooting: If the connection gets stuck, try clicking Reconnect from the menu. If that doesn't work, Quit the app and reopen it.
Questions, feedback, or just want to say hi?